Mixed Content Warnings: How to Fix Them After Moving to HTTPS
Learn what mixed content warnings mean, why they break your site after switching to HTTPS, and how to find and fix every insecure resource step by step.
# Mixed Content Warnings: How to Fix Them After Moving to HTTPS
You moved your site to HTTPS. The SSL certificate is installed. But instead of a padlock icon, your browser shows "Not Secure," images are broken, and your site looks half-finished.
That is a mixed content problem — one of the most common issues after switching to HTTPS, and entirely fixable without a developer.
According to Mozilla's developer documentation, mixed content degrades the security of your entire page. Even a single insecure image reference can strip the padlock from an otherwise properly secured site. The frustrating part is that your hosting provider, certificate authority, or IT person probably did everything right with the SSL setup. The problem lives in your content, templates, and database — not in the certificate itself.
This guide covers what mixed content is, why it matters, how to find every instance on your site, and how to fix it permanently.

What Is Mixed Content?
Mixed content happens when your page loads over HTTPS but some resources on it — images, scripts, stylesheets, fonts, or iframes — still load over plain HTTP.
Your page is at https://yourbusiness.com/about, but an image loads from http://yourbusiness.com/images/team-photo.jpg. That single http:// reference is the problem. Browsers treat it as a security risk because the insecure resource could be intercepted or modified in transit.
Think of it this way: HTTPS creates an encrypted tunnel between the visitor's browser and your server. Every resource loaded over plain HTTP punches a hole in that tunnel. An attacker on the same network — at a coffee shop, airport, or hotel — could intercept or replace the insecure resource without the visitor knowing.
There are two types:
Passive mixed content (mixed display): Images, videos, and audio loaded over HTTP. Browsers typically still load these but remove the padlock icon and may show a warning. The risk is lower because these resources cannot directly execute code, but they can still be swapped. An attacker could replace your product photo with something offensive or misleading.
Active mixed content: Scripts, stylesheets, iframes, and fetch requests loaded over HTTP. Browsers block these entirely because they could modify page behavior. A compromised script could steal form data, redirect visitors, or inject malware. This causes broken layouts, missing functionality, and JavaScript errors that make your site appear unprofessional or abandoned.
Chrome, Firefox, Safari, and Edge all handle mixed content the same way: passive content gets a warning, active content gets blocked. There are no browser settings your visitors can toggle to bypass this behavior. The fix has to happen on your end.
Why Mixed Content Matters for Your Business
Visitors see security warnings
When a page has mixed content, browsers remove the padlock. Chrome may display "Not Secure" in the address bar. For a business that depends on trust — especially one accepting payments, bookings, or contact forms — that warning drives people away.
A study by GlobalSign found that 84 percent of online shoppers would abandon a purchase if data was sent over an insecure connection. Even though mixed content does not mean your SSL certificate is invalid, the "Not Secure" badge creates the same impression for visitors who do not understand the technical difference.
Content breaks visibly
Modern browsers block active mixed content by default. If your site depends on a script or stylesheet loaded over HTTP, parts of your page will stop working. A contact form might fail. A booking widget might vanish. Navigation might break. Sliders stop sliding. Dropdowns stop dropping.
The worst part is that you may not notice immediately. If your browser has cached the HTTPS version of the resource from before the migration, everything looks fine to you while new visitors see a broken site. This is why testing in an incognito or private window — with a cleared cache — is essential after any HTTPS migration.
Search rankings can suffer
Google confirmed HTTPS as a ranking signal. A site with mixed content warnings is technically HTTPS but not fully secure. While Google has not stated that mixed content directly harms rankings, browser warnings undermine trust signals for both users and crawlers. Additionally, if blocked active content breaks core functionality — like your navigation or internal links — Google's crawler may have difficulty indexing your site properly, which absolutely affects rankings.
Page load performance takes a hit
Mixed content can also introduce subtle performance problems. When a browser encounters a mixed content request, it has to evaluate the security context, potentially block the resource, and log a warning. If blocked resources include render-critical stylesheets or scripts, the page may load partially and then appear to hang while the browser waits for resources that will never arrive.
How Mixed Content Happens
Understanding the causes helps you find problems faster.
Hardcoded HTTP URLs in existing content. Blog posts and pages created before the HTTPS switch still contain http:// image and link references. The SSL certificate does not rewrite your existing content. If you published 200 blog posts over three years, every image and internal link in those posts may still point to http://.
Theme and plugin files. WordPress themes, Squarespace code injections, or Wix HTML embeds may reference external resources with http:// URLs. Older themes are especially prone to this. A theme purchased in 2018 might hardcode Google Fonts, Font Awesome, or jQuery CDN links with http://.
Third-party embeds. Google Maps iframes, YouTube embeds, social widgets, chat tools, or analytics scripts added with http:// URLs. If you copied embed code from a service years ago, it may have used http:// even if the service now supports HTTPS.
CDN or external image hosting. Images hosted on a separate domain or CDN not configured for HTTPS trigger mixed content warnings. This is common with budget image hosting services or older CDN configurations.
CSS background images and fonts. A background-image: url(http://...) buried in a stylesheet is easy to miss but still counts as mixed content. These references do not appear in your page content — they hide inside CSS files that you may rarely edit.
Database-stored URLs. Content management systems store URLs in the database. After your server switches to HTTPS, the database still holds the old http:// URLs for images, links, and embedded media. This is the single biggest source of mixed content on CMS-powered sites.
Inline styles and legacy shortcodes. Some page builders and shortcode plugins store full URLs in inline style attributes or custom data attributes. These are stored in the database but are not always caught by simple search-and-replace operations because the URL format may be encoded or serialized.

How to Find Every Mixed Content Problem
Before fixing anything, build a complete inventory of insecure resources. Fixing problems one at a time as you stumble across them is frustrating and inefficient. A systematic approach saves hours.
Method 1: Browser Developer Tools
The quickest way to check a single page:
- Open the page in Chrome (use an incognito window to avoid cache issues).
- Press
F12to open DevTools. - Click the Console tab.
- Look for yellow or red warnings that say "Mixed Content."
Each warning shows the exact URL of the insecure resource and the page it appears on. The warning text includes both the page URL and the resource URL, so you can tell exactly which file needs attention.
Limitation: This only checks one page at a time — impractical for a site with dozens or hundreds of pages. You would need to manually visit every single page and check the console each time.
Method 2: Run a site-wide audit
A crawl-based audit scans every page and flags mixed content automatically. FreeSiteAudit scans your entire site for mixed content, broken SSL configurations, and other HTTPS issues in one pass. This is the most efficient approach because it catches problems on pages you might forget to check manually — old blog posts, archived landing pages, rarely visited policy pages.
Method 3: Chrome Security panel
- Open Chrome DevTools (
F12). - Click the Security tab.
- Review the summary of your page's security state and the list of insecure origins.
This gives a cleaner overview than the console for identifying which domains serve insecure content. If multiple third-party domains appear in the "Non-secure origins" list, you know exactly which external integrations need attention.
Method 4: Search your database
On WordPress, query the database directly for http:// references to your domain:
sql
SELECT * FROM wp_posts WHERE post_content LIKE '%http://yourdomain.com%';
SELECT * FROM wp_options WHERE option_value LIKE '%http://yourdomain.com%';
SELECT * FROM wp_postmeta WHERE meta_value LIKE '%http://yourdomain.com%';
This catches content-level references that a front-end scan might miss if those pages are not publicly linked. It also reveals references in draft posts, revisions, and unpublished content that would become mixed content the moment you hit publish.
For multisite WordPress installations, remember to check each site's tables individually — the table prefixes differ per site.
Method 5: Check your theme and plugin files manually
Search your theme directory for http:// references:
bash
grep -r "http://" /path/to/your/theme/ --include=".php" --include=".css" --include="*.js"
This catches hardcoded URLs in template files, stylesheets, and JavaScript files that are not stored in the database and will not be found by a database search.
Step-by-Step Fix: A Real-World Example
Sarah runs a local bakery. She moved her WordPress site to HTTPS last month. Her homepage still shows "Not Secure" in Chrome, her Instagram feed widget disappeared, and the Google Maps embed on her contact page is blank.
Step 1: Identify the problems
A site audit reveals:
- 12 blog post images loading from
http://sarahsbakery.com/wp-content/uploads/... - 1 Google Fonts stylesheet via
http://fonts.googleapis.com/...in her theme - 1 Google Maps iframe on the contact page using
http://maps.google.com/... - 3 CSS background images in her theme's stylesheet using
http:// - 1 social media widget script loading from
http://
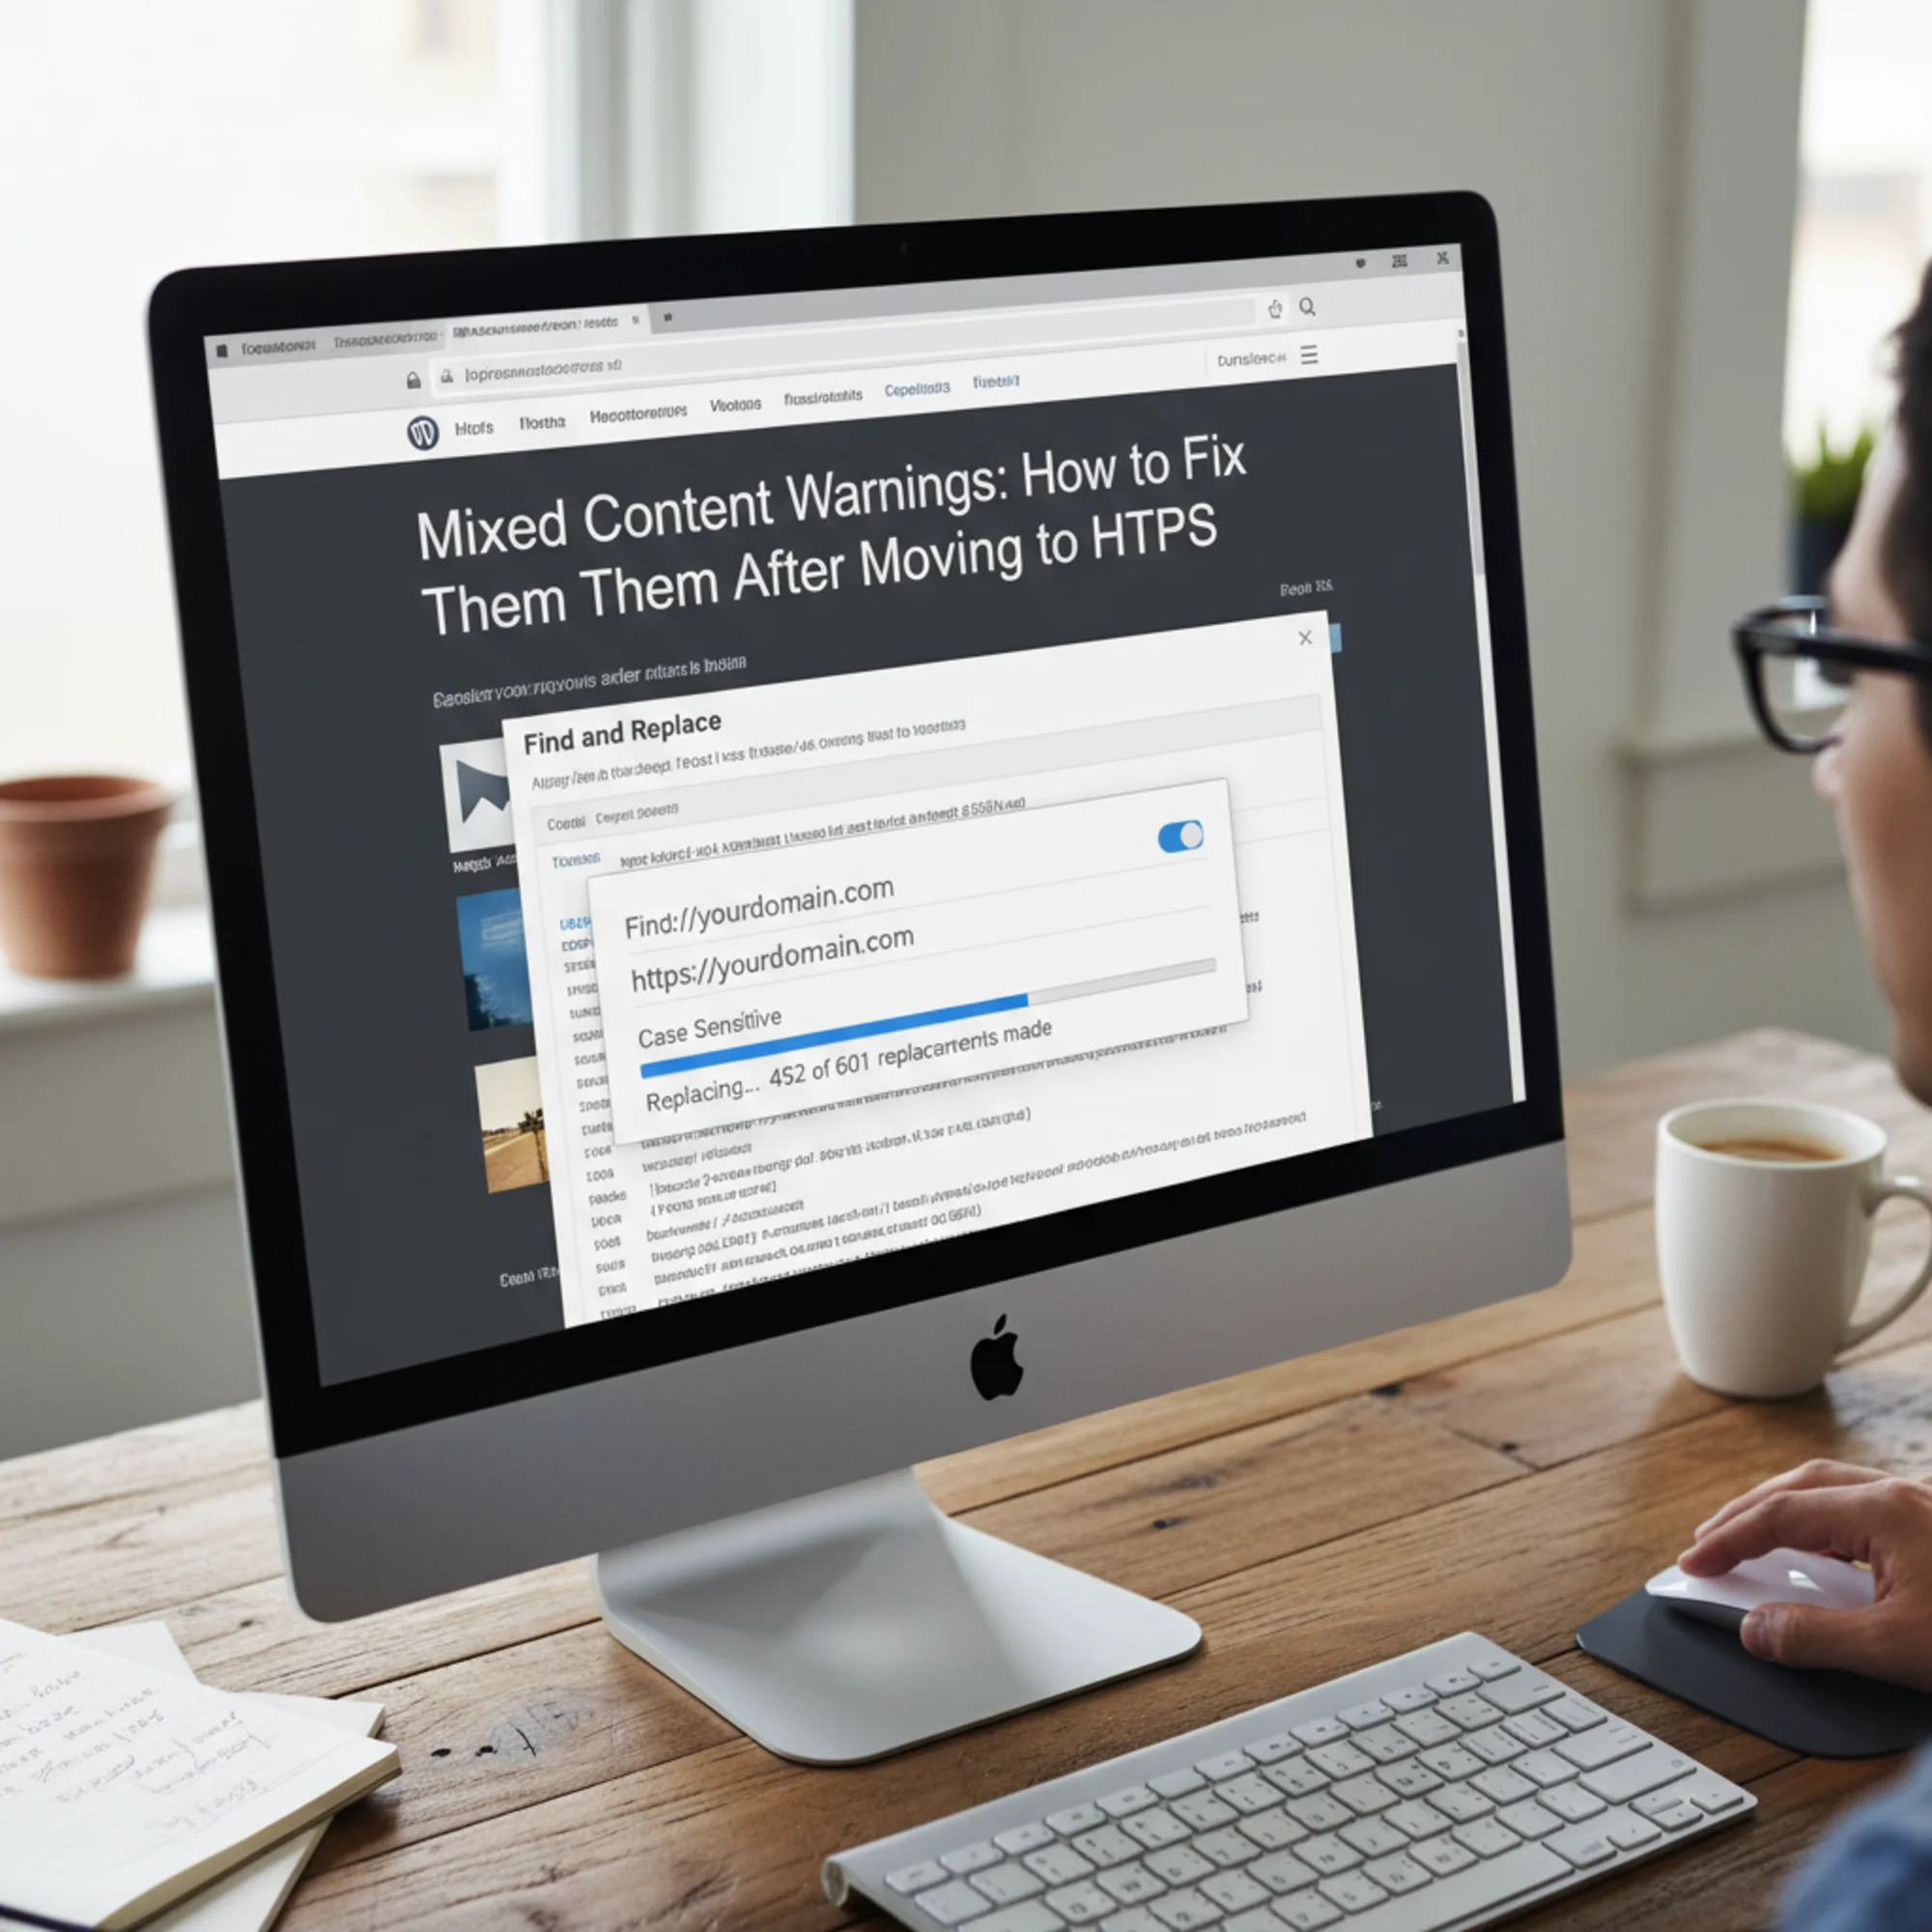
Step 2: Fix internal URLs with search and replace
For the 12 blog post images, Sarah uses a database search-and-replace tool. In WordPress, the Better Search Replace plugin is the most reliable option.
- Install and activate Better Search Replace from the WordPress plugin repository.
- Navigate to Tools > Better Search Replace.
- Search field:
http://sarahsbakery.com - Replace field:
https://sarahsbakery.com - Select all database tables.
- Check the "Run as dry run?" box first.
- Run the dry run to preview the replacement count — this shows you exactly how many replacements will be made in each table without changing anything.
- Review the numbers. If they look reasonable, uncheck the dry run box and run the actual replacement.
This fixes every internal http:// URL in the database — post content, widget settings, theme options, and metadata.
Back up your database before running search and replace. One wrong replacement can break things. Most hosting providers offer one-click database backups, or you can use a plugin like UpdraftPlus. If something goes wrong, you can restore the backup and try again.
Important: Better Search Replace handles serialized data correctly, which is critical for WordPress. Many theme and plugin settings store URLs in serialized PHP arrays. A simple SQL REPLACE() query would break the serialization, causing white screens and broken settings. Always use a tool that is serialization-aware.
Step 3: Fix theme and template files
The Google Fonts reference is in Sarah's theme header.php. She changes:
html
to:
html
For the CSS background images, she edits the theme's stylesheet and updates each http:// to https://.
A more future-proof approach for resources on the same domain is to use protocol-relative URLs or, better yet, relative paths:
html
Protocol-relative URLs (starting with //) were popular during the HTTP-to-HTTPS transition era but are now considered unnecessary since HTTPS should be the default everywhere.
Step 4: Fix third-party embeds
The Google Maps iframe on the contact page needs its src attribute changed from http:// to https://. Google Maps fully supports HTTPS, so this is a simple URL swap.
For the social media widget, Sarah grabs fresh embed code from the provider's website, which now defaults to HTTPS.
When updating embeds, take the opportunity to check whether the service offers a newer, better-performing embed code. Many third-party tools have updated their embed implementations for better performance and privacy compliance.
Step 5: Add a Content Security Policy header
To catch anything you missed and prevent future issues, add this header:
Content-Security-Policy: upgrade-insecure-requests
This tells browsers to automatically upgrade http:// requests to https://. It is a safety net, not a replacement for fixing actual URLs. If the HTTPS version of a resource does not exist, the request will fail silently rather than showing a mixed content warning — which means broken images instead of security warnings. Always fix the underlying URLs first.
In Apache .htaccess:
apache
Header always set Content-Security-Policy "upgrade-insecure-requests"
In Nginx:
nginx
add_header Content-Security-Policy "upgrade-insecure-requests" always;
If you are on managed WordPress hosting (like WP Engine, Kinsta, or SiteGround), check your hosting dashboard for an option to add custom headers. Some hosts provide a GUI for this so you do not need to edit server configuration files directly.
Step 6: Set up HTTPS redirects
Ensure your server redirects all HTTP traffic to HTTPS. This does not fix mixed content directly but prevents visitors from landing on the insecure version of your site.
In .htaccess:
apache
RewriteEngine On
RewriteCond %{HTTPS} off
RewriteRule ^(.*)$ https://%{HTTP_HOST}%{REQUEST_URI} [L,R=301]
The R=301 flag tells search engines this is a permanent redirect, so they update their index to the HTTPS URLs. This is important for preserving your search rankings during the migration.
Also update your WordPress site URL settings at Settings > General:
- WordPress Address (URL):
https://yourdomain.com - Site Address (URL):
https://yourdomain.com
If these still say http://, WordPress will generate internal links with the wrong protocol.
Step 7: Verify the fix
- Clear your browser cache completely, or open a fresh incognito window.
- Visit your homepage, each major landing page, your contact page, and a few blog posts.
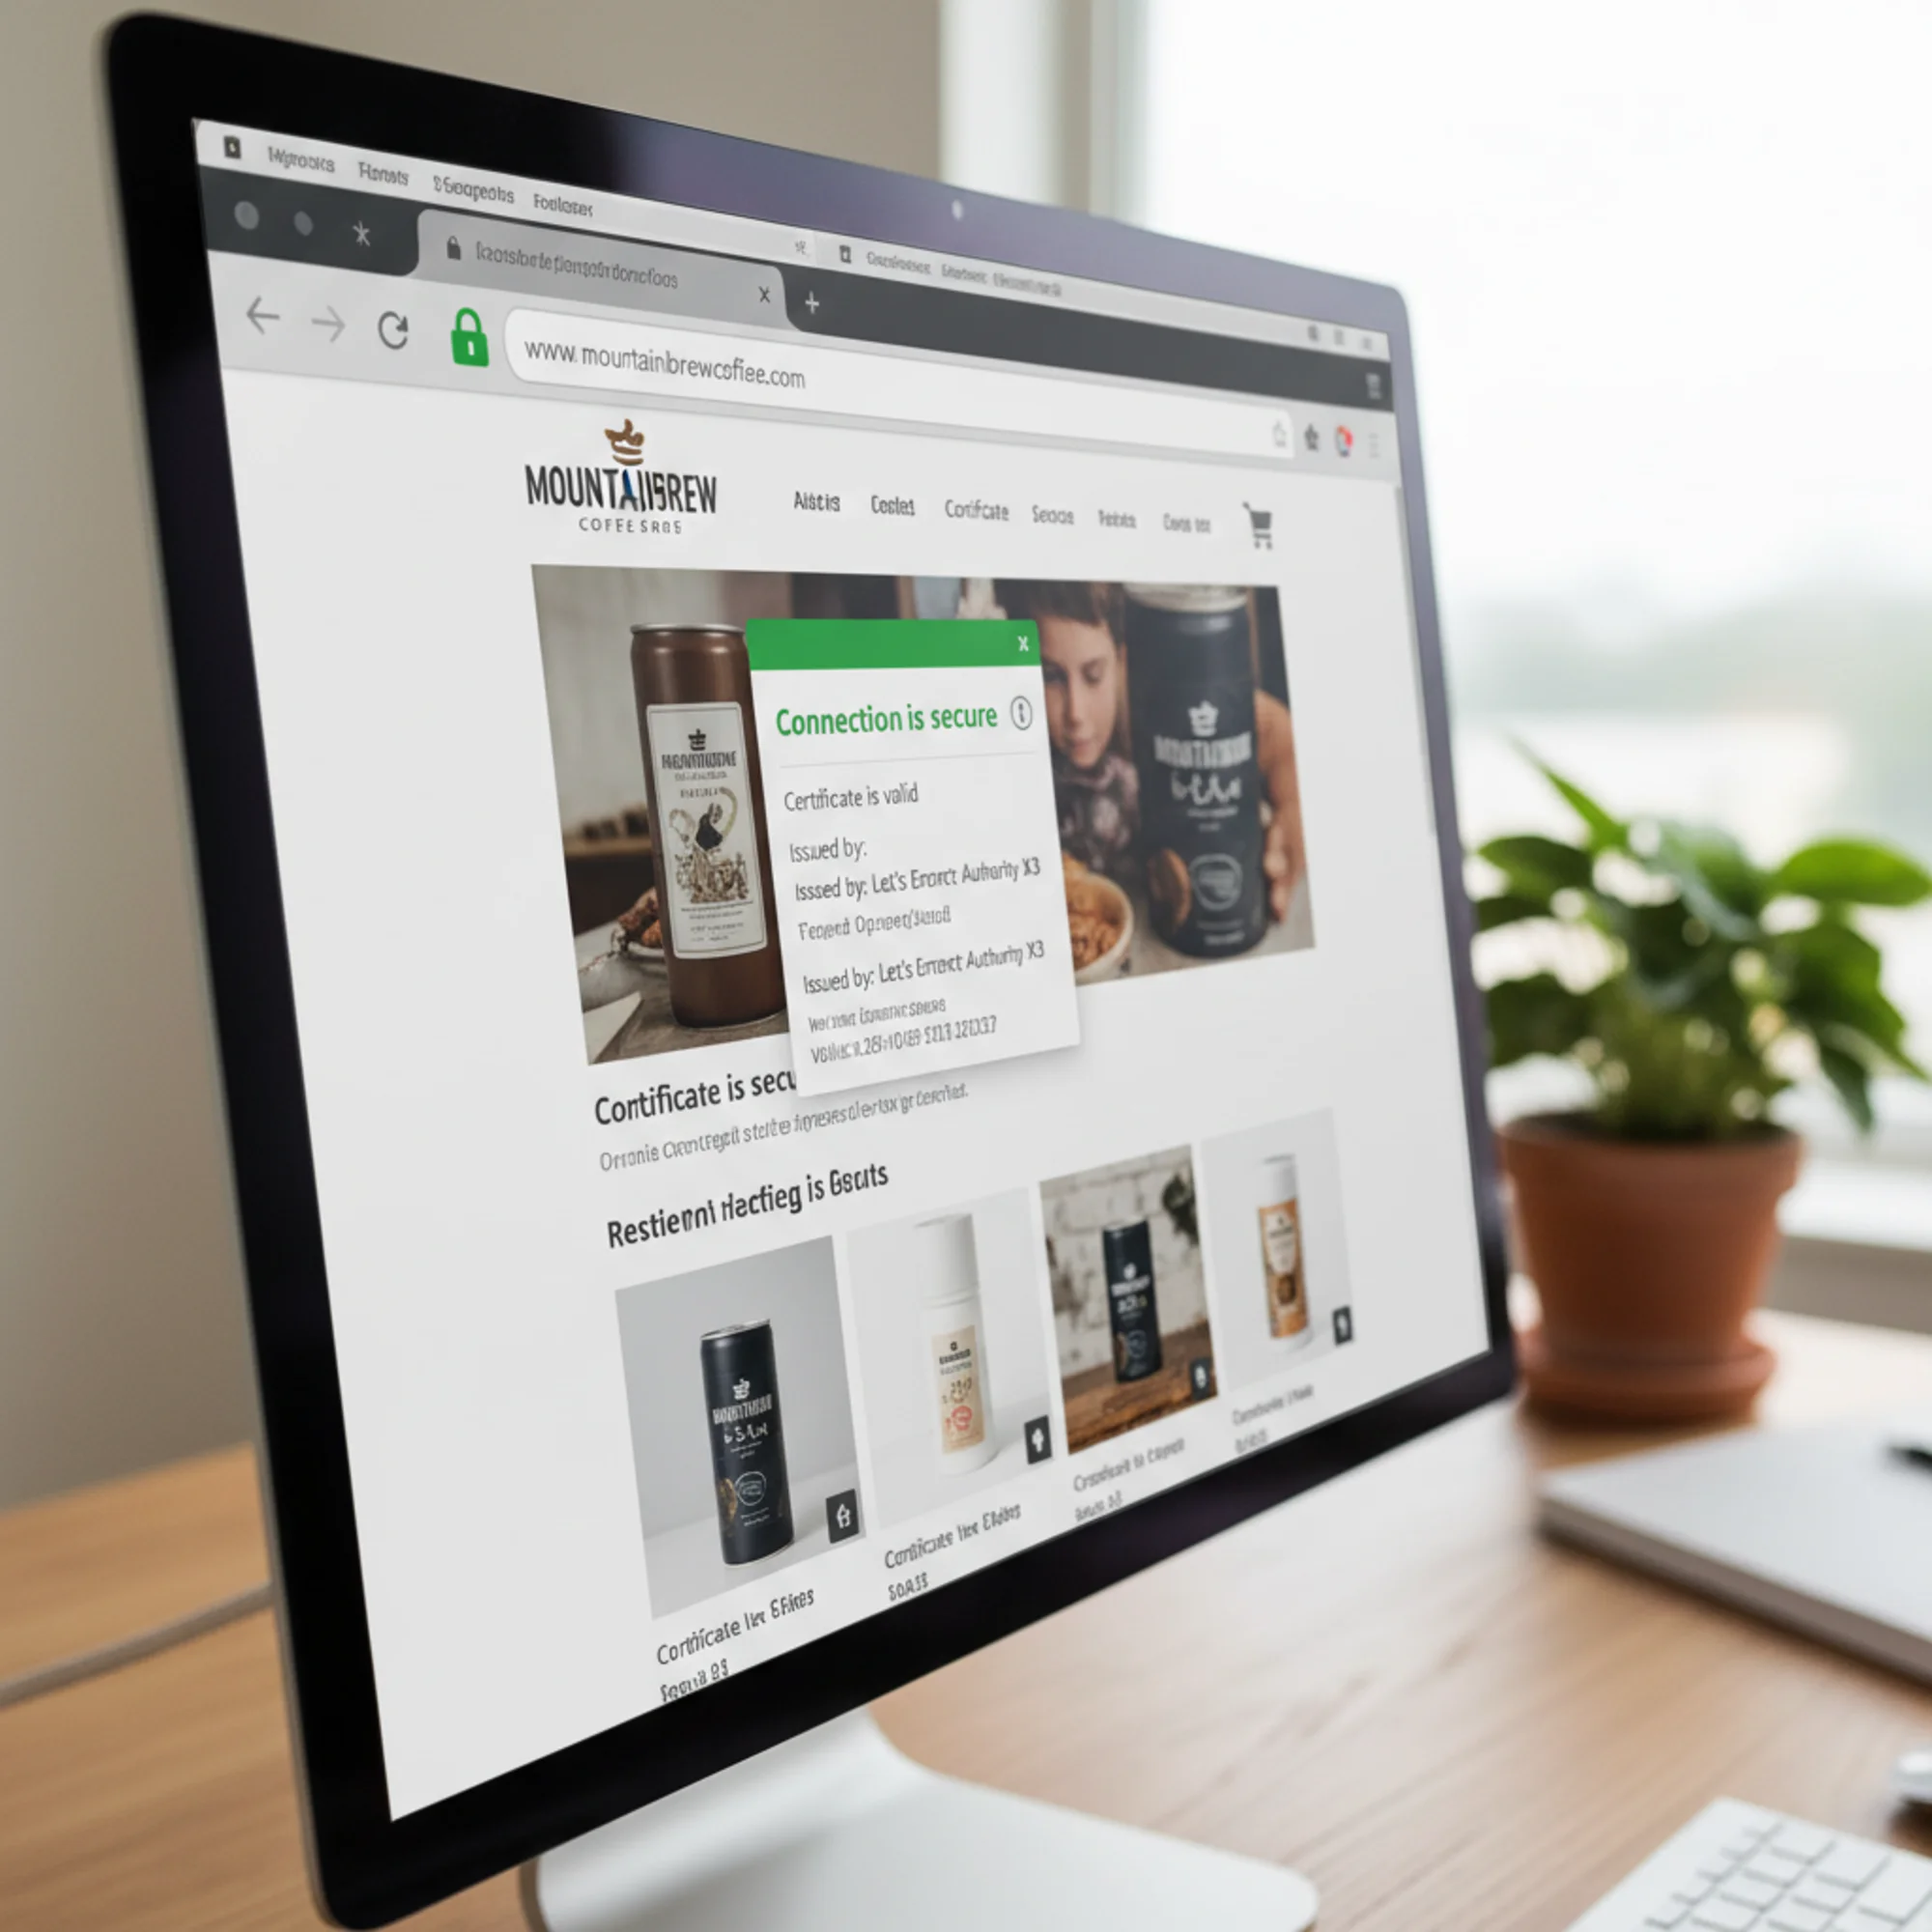
- Confirm the padlock icon appears on every page.
- Open DevTools and check the console for zero mixed content warnings.
- Test on mobile — some mobile browsers handle mixed content differently.
- Run another site audit with FreeSiteAudit to verify the fix across all pages, including ones you might forget to check manually.
Sarah's site now shows a green padlock on every page. The process took about 45 minutes.
Quick-Fix Checklist
Use this checklist to make sure you do not miss anything:
- [ ] Back up your database and files before making any changes
- [ ] Run a site-wide audit to identify all mixed content across every page
- [ ] Search and replace
http://yourdomain.comwithhttps://yourdomain.comin the database - [ ] Update theme files (header.php, footer.php, functions.php) for hardcoded
http://URLs - [ ] Update CSS files for
http://in background images, font imports, and icon references - [ ] Update JavaScript files for any hardcoded
http://API endpoints or resource URLs - [ ] Update or re-embed third-party widgets (maps, videos, chat tools, social feeds)
- [ ] Check custom HTML widgets and code injections
- [ ] Update your CMS site URL settings to use
https:// - [ ] Add the
upgrade-insecure-requestsContent Security Policy header - [ ] Set up HTTP-to-HTTPS 301 redirects
- [ ] Clear all caches (browser, site plugin cache, CDN, server-level cache)
- [ ] Verify padlock icon on every major page type (homepage, blog post, product page, contact page)
- [ ] Test in an incognito window and on a mobile device
- [ ] Run a final audit to confirm zero mixed content warnings
- [ ] Update your sitemap to use
https://URLs and resubmit to Google Search Console
Platform-Specific Notes
WordPress: Use Better Search Replace or WP-CLI search-replace. Check Customizer settings — logo and background image URLs are stored in the database separately from post content. Also check widget content, menu item URLs, and any custom fields used by page builders like Elementor or Beaver Builder. If you use a caching plugin (WP Super Cache, W3 Total Cache, LiteSpeed Cache), purge the entire cache after making changes.
Squarespace: HTTPS is automatic for built-in features. Mixed content usually comes from custom code injections or third-party embeds in Code Blocks or Header/Footer injection areas under Settings > Advanced > Code Injection. Check every code block on every page — Squarespace does not offer a global search for code injections.
Wix: Sites are HTTPS by default. Mixed content typically originates from third-party HTML embeds added via the HTML iframe element. Update embed code to use https://. Check Wix App Market apps as well — older or less maintained apps may inject insecure resources.
Shopify: HTTPS is managed for built-in features. Check theme Liquid files for hardcoded http:// URLs, especially in older themes, and review apps that inject external content. Pay attention to theme.liquid, header.liquid, and any snippet files. Shopify's theme editor has a search function that can help you find http:// references across your theme files.
Static sites and custom platforms: If you manage your own HTML, CSS, and JavaScript files, a project-wide find-and-replace in your code editor is the most direct fix. Search for http:// across all files and evaluate each result. For static site generators like Hugo, Jekyll, or Next.js, check your configuration files — the base URL setting affects every generated link and asset reference.
When a Third-Party Resource Does Not Support HTTPS
Occasionally you will find an external resource that only loads over HTTP. This is increasingly rare but still happens with niche tools, legacy analytics services, or small regional providers. You have three options:
- Find an alternative. Most reputable services support HTTPS. If one does not in 2026, that is a red flag about the service's maintenance and security posture. Look for a modern replacement.
- Host it yourself. Download the file (if licensing allows), upload it to your own server, and serve it over HTTPS. This works well for fonts, JavaScript libraries, and CSS files. Be aware that you will need to manually update the file if the original provider releases a new version.
- Remove it. A missing decorative image or non-essential widget is better than a security warning on every page. Audit whether the resource actually contributes to your business goals before spending time finding a workaround.
Do not leave http:// resources on your site because fixing them is inconvenient. Every insecure resource undermines the trust your SSL certificate is supposed to provide.
Preventing Mixed Content Going Forward
Once your site is clean, keep it that way with these habits:
- Use HTTPS URLs when adding images, embeds, or links to your own site. Make it a standard practice for anyone who edits your site.
- Use relative URLs for internal resources (
/images/photo.jpginstead of the full domain). This avoids protocol issues entirely and makes your content portable. - Keep the
upgrade-insecure-requestsheader active as a permanent safety net. It costs nothing in performance and catches accidentalhttp://references. - Vet third-party tools before installing. Check that any embed code, plugin, or widget uses HTTPS before adding it to your site.
- Audit regularly. New content, plugin updates, and theme changes can reintroduce mixed content. A monthly site audit catches problems before visitors do. Set a calendar reminder or use a monitoring tool that alerts you to new mixed content issues.
- Train content editors. If multiple people update your site, make sure everyone knows to use
https://when pasting URLs. A brief one-paragraph guide in your internal documentation prevents most accidental mixed content.
Check Your Site Right Now
Mixed content is invisible to you but obvious to your visitors. Your browser may cache the HTTPS version while new visitors see warnings. You could be losing trust — and customers — without knowing it.
The fix is straightforward. Find every http:// reference, change it to https://, and verify the result. Most small business sites can be cleaned up in under an hour.
Run a free site audit with FreeSiteAudit to scan every page for mixed content, SSL issues, and other security problems. It takes less than a minute and tells you exactly what needs fixing — no signup required.
Sources
Check your website for free
Get an instant score and your top 3 critical issues in under 60 seconds.
Get Your Free Audit →