The Security Headers Every Business Website Should Have
Learn which six HTTP security headers your business site needs and how to add them — a practical checklist to block clickjacking, XSS, and data leaks.
# The Security Headers Every Business Website Should Have
Your website has a lock icon in the browser. You paid for SSL. You figured security was handled.
Here's the thing: HTTPS encrypts the connection between your visitor and your server. But it does nothing to stop your site from being embedded in a fake page, nothing to prevent malicious scripts from running inside your pages, and nothing to keep browsers from leaking visitor data to third parties.
That's what HTTP security headers do. They're instructions your server sends to every visitor's browser, telling it exactly what's allowed and what isn't. Without them, browsers fall back to their defaults — which are permissive, not protective.
Most small business websites are missing several of these headers right now. A 2023 analysis of over 100,000 websites found that fewer than 10 percent had a fully configured Content Security Policy, and the majority lacked even basic clickjacking protection. Adding them is straightforward, usually free, and doesn't require a developer on retainer.
This guide covers the six headers that matter most, explains what each one actually does in plain language, and walks you through adding them on every major platform — step by step.
What Are HTTP Security Headers?
Every time someone visits your website, your server sends back two things: the page content and a set of headers. Headers are metadata — invisible instructions that tell the browser how to handle the page.
Most headers are mundane: content type, caching rules, server software. Security headers are the subset that tell the browser:
- What content is allowed to load on your pages
- Whether your site can be embedded inside another site
- Where the browser can send data about your visitors
- Whether to enforce HTTPS strictly
- Which device features (camera, microphone, location) scripts are allowed to access
Think of them as rules your bouncer enforces at the door. Without those rules, anyone can walk in.
You can see your site's current headers by opening Chrome DevTools (press F12), going to the Network tab, clicking on the first request, and scrolling through the Response Headers section. If you don't see entries like Content-Security-Policy or Strict-Transport-Security, those protections aren't active.
Why Small Business Sites Are Especially Exposed
Large companies have security teams that configure these headers as part of standard deployment. Small business websites — built on WordPress, Squarespace, Wix, Shopify, or by a freelancer years ago — almost never have them set up properly.
This matters because small business sites often handle sensitive customer data — contact form submissions, order details, login credentials — without the multi-layered security infrastructure that larger companies use. Security headers act as a critical defensive layer precisely when those other layers are absent.
Here are the specific risks:
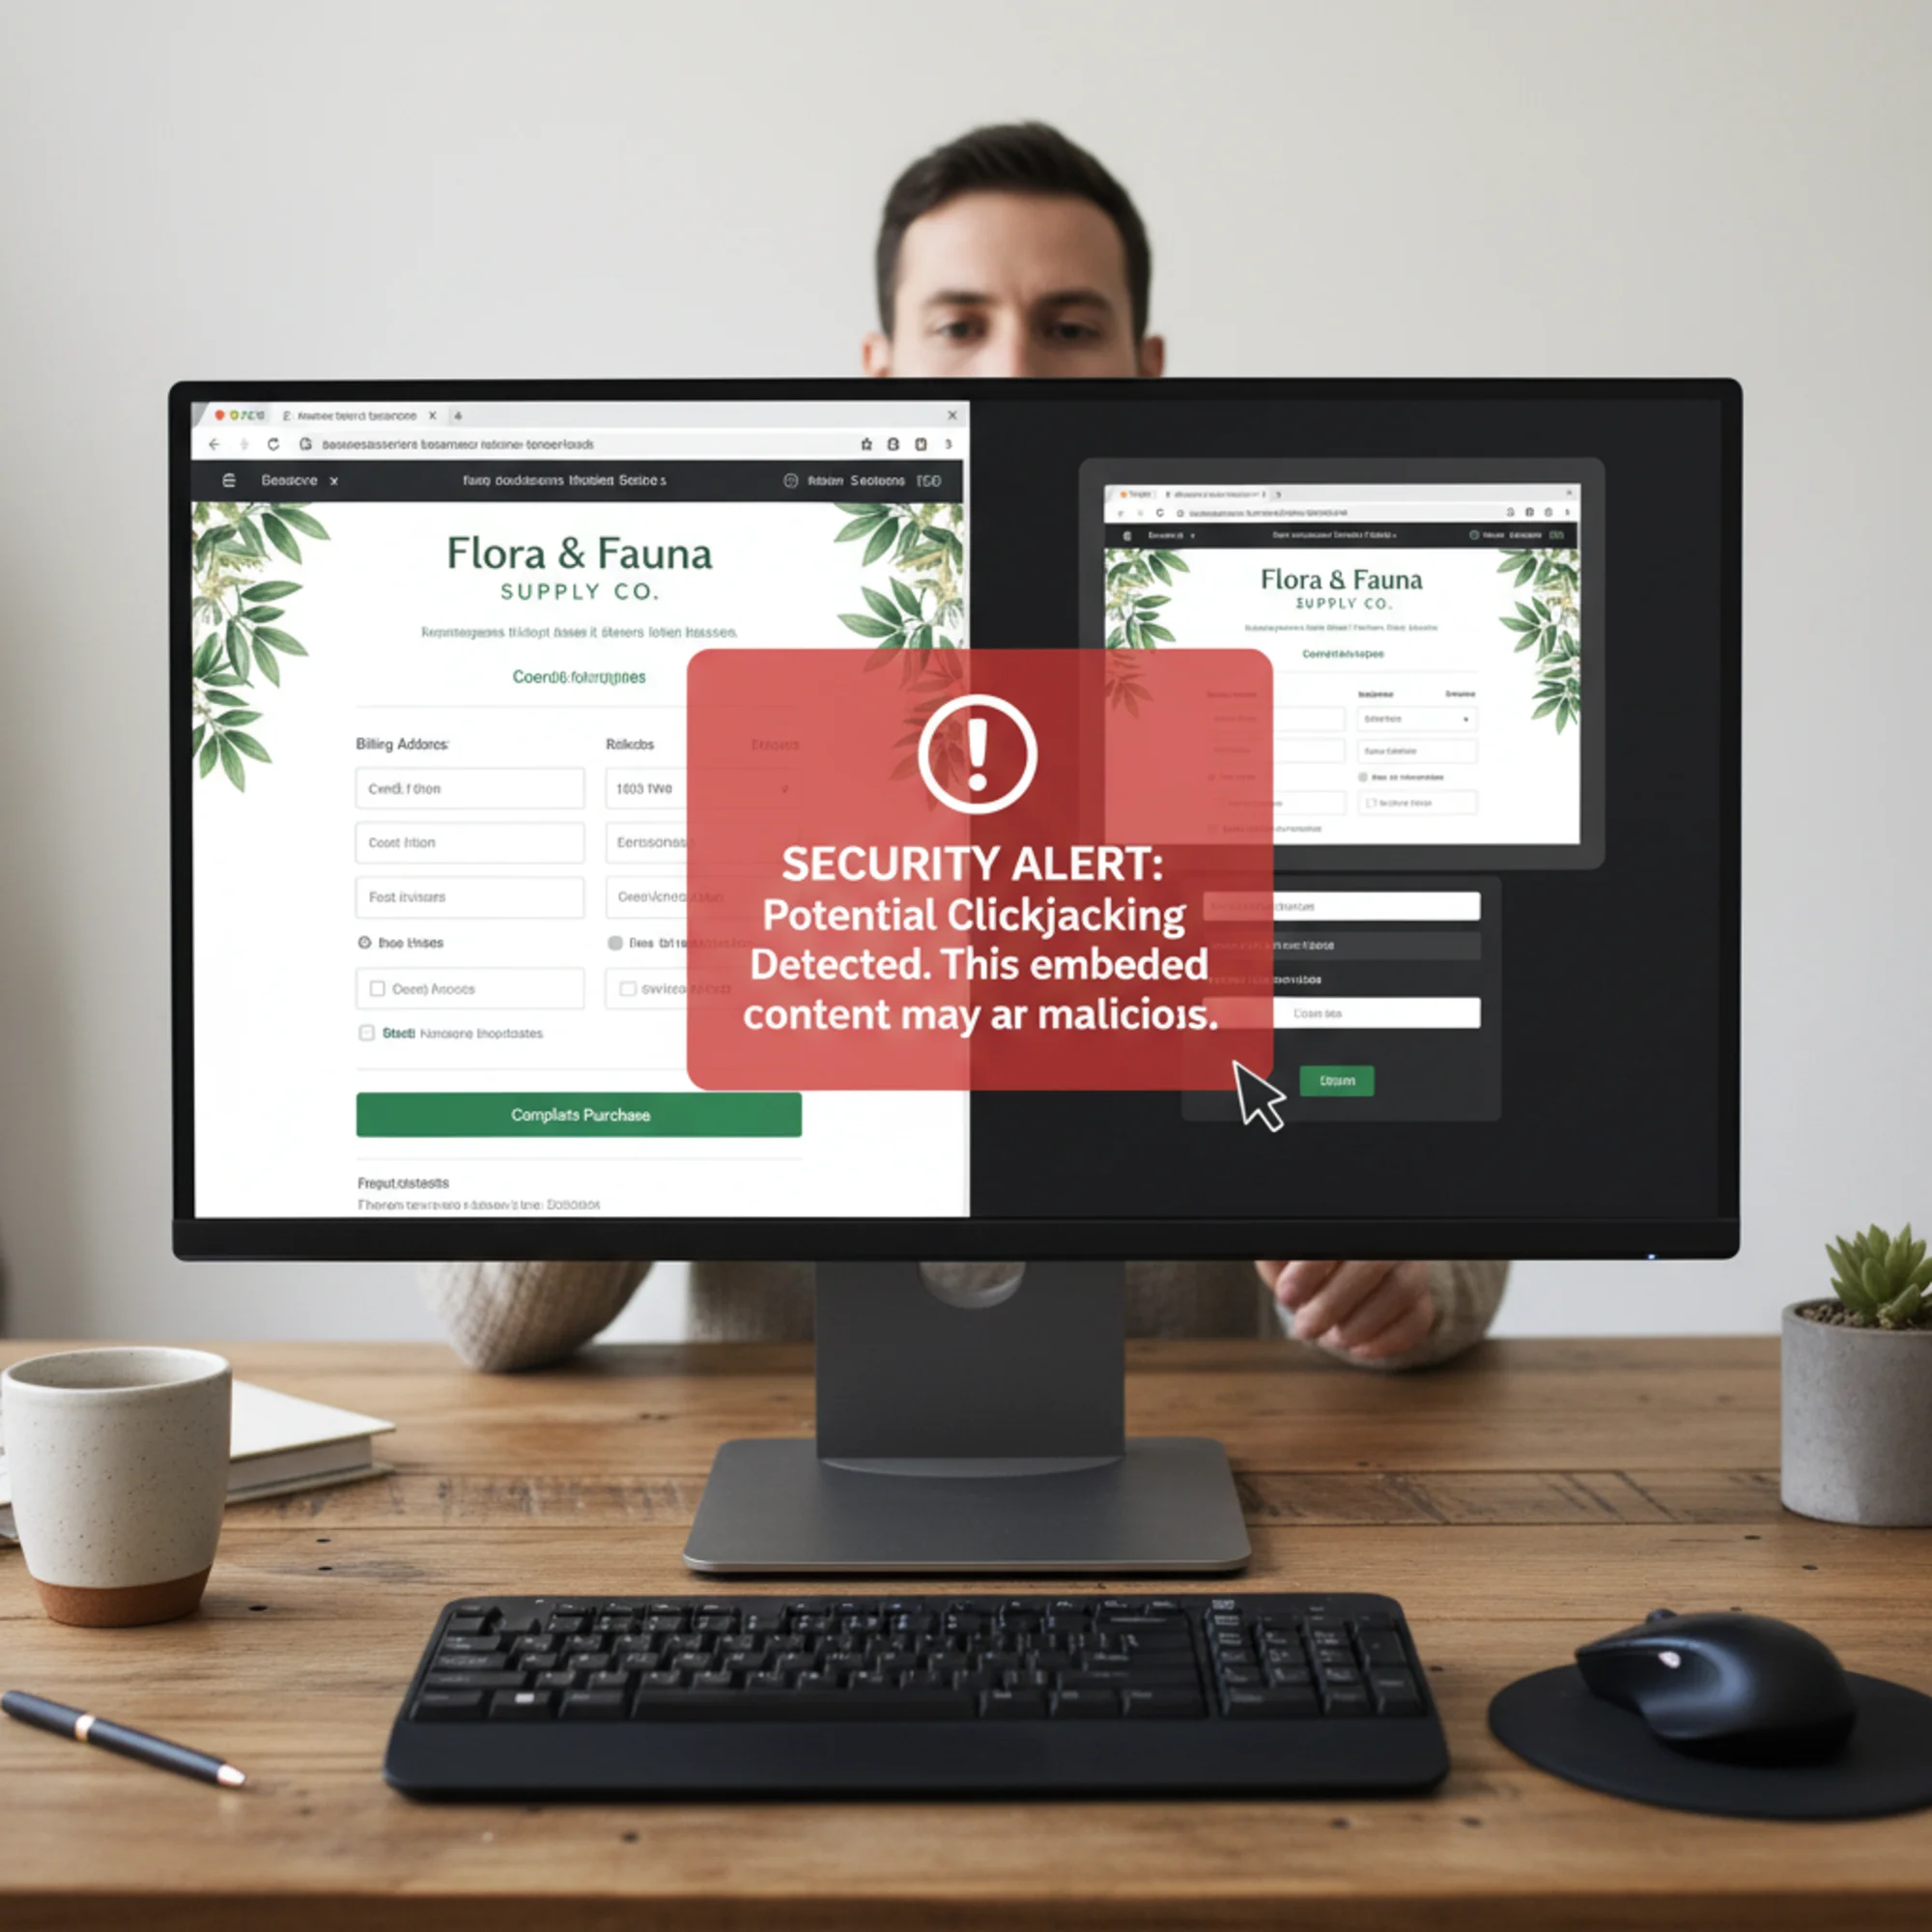
Clickjacking. An attacker embeds your site inside a transparent frame on their page. Your customer thinks they're clicking a button on the attacker's site, but they're actually clicking "Confirm Purchase" or "Reset Password" on yours. In practice, this has been used to trick users into changing account settings, authorizing payments, and even enabling webcam access — all with a single click they thought was going somewhere else entirely.
Cross-site scripting (XSS). If your site loads scripts from third-party sources without restrictions — analytics, chat widgets, ad trackers — a compromised script can steal form data, redirect visitors, or inject content. A real-world example: in 2019, a popular third-party analytics script used by thousands of small e-commerce sites was compromised, silently harvesting credit card numbers from checkout forms for months before detection.
Data leakage. Without proper headers, browsers may send your full page URL (including query strings with customer data) as a referrer when visitors click outbound links. If your thank-you page URL looks like /order-complete?email=john@example.com&order=4582, that entire string can end up in the logs of every third-party service linked from that page.
Downgrade attacks. Even with SSL installed, a visitor's first request might go through plain HTTP before redirecting. An attacker on the same network — at a coffee shop, airport, or hotel — can intercept that initial unencrypted request. This is called SSL stripping, and it's trivially easy to execute with freely available tools.
MIME-type confusion. Without the right header, a browser may interpret an uploaded file differently than intended. An attacker uploads a file that looks like an image but contains JavaScript. The browser "sniffs" the content, decides it's a script, and executes it in your site's security context.
None of these require your server to be "hacked" in the traditional sense. They exploit the gap between having SSL and having actual browser-level security policies.
The Six Headers You Need
There are dozens of security-related headers. Most small business sites need six. Here's each one in plain English, what it prevents, and what the directive looks like.
1. Content-Security-Policy (CSP)
What it does: Tells the browser exactly which sources are allowed to load scripts, styles, images, fonts, and other resources on your page.
What it prevents: Cross-site scripting attacks, unauthorized script injection, and data exfiltration through rogue scripts.
Why it matters: If a WordPress plugin you use gets compromised, or a third-party chat widget starts loading malicious scripts, CSP stops those scripts from executing. It's the single most powerful security header available, and the one most often missing.
A basic CSP header looks like this:
Content-Security-Policy: default-src 'self'; script-src 'self' https://www.google-analytics.com; style-src 'self' 'unsafe-inline'; img-src 'self' data: https:; font-src 'self' https://fonts.gstatic.com
This says: only load scripts from my own domain and Google Analytics. Only load fonts from my domain and Google Fonts. Only load images from my domain and HTTPS sources. Everything else gets blocked.
Here's what each directive means:
default-src 'self'— By default, only allow resources from your own domainscript-src— Which domains can serve JavaScriptstyle-src— Which domains can serve CSS (note:'unsafe-inline'is often needed for WordPress themes but weakens CSP somewhat)img-src— Which domains can serve images (data:allows base64-encoded images,https:allows any HTTPS source)font-src— Which domains can serve web fonts
Start simple. Use Content-Security-Policy-Report-Only first so you can see what would be blocked without actually breaking anything. Open your browser's developer console and watch for CSP violation messages. Once you've confirmed nothing legitimate is blocked, switch to enforcing mode.
Building your whitelist. Visit every page of your site with the developer console open. Note every external domain that loads a resource. Common ones include:
https://www.google-analytics.comandhttps://www.googletagmanager.comfor Google Analytics/Tag Managerhttps://fonts.googleapis.comandhttps://fonts.gstatic.comfor Google Fontshttps://cdn.jsdelivr.netfor various open-source librarieshttps://connect.facebook.netfor Facebook Pixel- Your CDN domain if you use one
Add each legitimate source to the appropriate directive. If you miss one, you'll see the violation in report-only mode before it causes real problems.
2. X-Frame-Options
What it does: Controls whether your site can be embedded inside an iframe on another site.
What it prevents: Clickjacking — the attack where your page is rendered invisibly inside a malicious site, and your visitors unknowingly interact with your site while thinking they're on the attacker's page.
The directive:
X-Frame-Options: SAMEORIGIN
This allows your own site to embed its own pages (useful for admin panels) but blocks every other domain from framing your content. The alternative value DENY blocks all framing, including by your own site.
The newer frame-ancestors directive inside CSP does the same thing with more flexibility — for example, frame-ancestors 'self' https://trusted-partner.com lets you whitelist specific domains. Setting X-Frame-Options alongside it provides backward compatibility with older browsers that don't support CSP.
3. Strict-Transport-Security (HSTS)
What it does: Tells the browser to only connect to your site over HTTPS, even if someone types http:// or clicks an old HTTP link.
What it prevents: SSL stripping and downgrade attacks, where an attacker intercepts the initial unencrypted request before your server redirects to HTTPS. Without HSTS, every first visit is vulnerable. With HSTS, the browser remembers to use HTTPS and never sends that unprotected first request again.
The directive:
Strict-Transport-Security: max-age=31536000; includeSubDomains
This tells browsers: for the next year (31,536,000 seconds), never connect to this domain or any subdomain over plain HTTP.
Recommended rollout approach:
- Start with a short max-age (e.g.,
max-age=300— five minutes) so mistakes are recoverable - Test all pages load correctly over HTTPS
- Check all subdomains (blog.yoursite.com, shop.yoursite.com, mail.yoursite.com)
- Increase to
max-age=604800(one week), thenmax-age=2592000(one month) - Once confident, set the full year:
max-age=31536000; includeSubDomains
Important: Only enable includeSubDomains after you've confirmed HTTPS works correctly across your entire site, including all subdomains. If a subdomain like mail.yourdomain.com doesn't have HTTPS configured and you set includeSubDomains, that subdomain becomes unreachable until the max-age expires or you fix the certificate.
4. X-Content-Type-Options
What it does: Prevents browsers from "sniffing" the content type of files your server sends. Without this header, a browser might look at a file's actual content and decide it's a different type than what the server declared — and treat it accordingly.
What it prevents: MIME-type confusion attacks, where a browser interprets an uploaded file (like an image) as executable JavaScript. This is especially relevant if your site allows any kind of file upload — profile photos, documents, attachments through forms.
The directive:
X-Content-Type-Options: nosniff
One line. No configuration needed. There's no reason not to set this on every site. It simply tells the browser: trust the content type the server says, and don't try to guess on your own.
5. Referrer-Policy
What it does: Controls how much information your site sends to other sites when visitors click outbound links or when your pages load third-party resources.
What it prevents: Leaking sensitive URLs, session tokens in query strings, or customer-specific page paths to third parties.
The directive:
Referrer-Policy: strict-origin-when-cross-origin
Here's what this policy means in practice:
- Same-site navigation (page A to page B on your own domain): the full URL is sent as the referrer — this keeps your internal analytics working normally
- Cross-site navigation (your site to an external site): only your domain name is sent (e.g.,
https://yoursite.com), not the full path - HTTPS to HTTP navigation: no referrer is sent at all — protecting against downgrade scenarios
You keep your analytics data; third parties don't get your customers' page histories.
Other options include no-referrer (never send any referrer information) and same-origin (only send referrer data for internal navigation). The strict-origin-when-cross-origin setting strikes the best balance between privacy and functionality for most business sites.
6. Permissions-Policy
What it does: Controls which browser features (camera, microphone, geolocation, payment API, autoplay, fullscreen) your site and its embedded third-party content are allowed to use.
What it prevents: Malicious scripts from silently activating the camera, tracking location, or accessing payment information through your site. Even if an attacker injects a script into your page, the browser will refuse to grant access to these features.
The directive:
Permissions-Policy: camera=(), microphone=(), geolocation=(), payment=(), usb=(), autoplay=()
The empty parentheses mean "no access for anyone — not even my own site." If your business genuinely needs one of these features, allow it for just your origin:
- Store locator needs geolocation:
geolocation=(self) - Video conferencing feature needs camera and mic:
camera=(self) microphone=(self) - Payment processing needs payment API:
payment=(self)
The principle is simple: disable everything by default, then enable only what you actually use.
How to Add Security Headers to Your Site
The method depends on your platform. Here are step-by-step instructions for each major option.
Apache (.htaccess)
Add these lines to the .htaccess file in your site's root directory. If the file doesn't exist, create it. If it does, add these lines at the end, inside the IfModule block:
apache
Header set X-Frame-Options "SAMEORIGIN"
Header set X-Content-Type-Options "nosniff"
Header set Referrer-Policy "strict-origin-when-cross-origin"
Header set Strict-Transport-Security "max-age=31536000; includeSubDomains"
Header set Permissions-Policy "camera=(), microphone=(), geolocation=(), payment=()"
Header set Content-Security-Policy "default-src 'self'; script-src 'self'; style-src 'self' 'unsafe-inline'; img-src 'self' data: https:; font-src 'self'"
After saving, verify the changes are active by running your site through a header scanner or checking the Network tab in DevTools. If you see a 500 error, your hosting may not have mod_headers enabled — contact your host to enable it.
Nginx
Add to your server block in the site's configuration file (usually in /etc/nginx/sites-available/):
nginx
add_header X-Frame-Options "SAMEORIGIN" always;
add_header X-Content-Type-Options "nosniff" always;
add_header Referrer-Policy "strict-origin-when-cross-origin" always;
add_header Strict-Transport-Security "max-age=31536000; includeSubDomains" always;
add_header Permissions-Policy "camera=(), microphone=(), geolocation=(), payment=()" always;
add_header Content-Security-Policy "default-src 'self'; script-src 'self'; style-src 'self' 'unsafe-inline'; img-src 'self' data: https:; font-src 'self'" always;
The always keyword ensures headers are sent even on error responses (404, 500). After editing, test the configuration with nginx -t and reload with systemctl reload nginx.
WordPress (Plugin)
If you don't have server access, plugins like HTTP Headers or Security Headers let you configure these from the WordPress admin dashboard without editing files.
Step by step with the HTTP Headers plugin:
- Go to Plugins → Add New in your WordPress admin
- Search for "HTTP Headers" and install the plugin by Dimitar Ivanov
- Go to Settings → HTTP Headers
- Enable each header individually and set the values described above
- Save and verify with a header scan
Cloudflare
If your site uses Cloudflare, add security headers through Transform Rules in the dashboard:
- Log into Cloudflare and select your domain
- Go to Rules → Transform Rules
- Click Create Rule and select Modify Response Header
- Add each header as a "Set static" action
- Set the rule to apply to all incoming requests
- Deploy the rule
This approach requires no server changes and works regardless of your origin server's configuration.
Managed Platforms (Squarespace, Wix, Shopify)
These platforms control the server configuration, which limits your options. Here's what each platform provides by default:
- Shopify — Sets HSTS, X-Frame-Options, and X-Content-Type-Options automatically. CSP and Permissions-Policy require a Cloudflare or similar proxy in front.
- Squarespace — Sets HSTS and X-Content-Type-Options. Other headers aren't configurable through the dashboard.
- Wix — Sets basic headers but offers limited customization. Their app ecosystem may provide options for advanced headers.
For any managed platform, the workaround is to route traffic through Cloudflare (available on their free plan), which lets you add any header regardless of the origin platform. Run a header scan to see exactly what's set and what's missing.

Walkthrough: Fixing a WordPress Site's Missing Headers
Sarah runs a local bakery. Her WordPress site takes orders and collects customer names, emails, and phone numbers through a contact form. Her hosting provider installed SSL, so she has the padlock. But a FreeSiteAudit scan reveals:
- No CSP — Her site loads seven third-party scripts (analytics, chat widget, font library, review widget, Facebook pixel, cookie consent, and an embedded map). Any one of those getting compromised means open season on customer data.
- No X-Frame-Options — Her order page could be embedded inside a phishing site.
- No HSTS — Customers on public Wi-Fi could have their first visit intercepted.
- No Referrer-Policy — Her thank-you page URL (
/order-confirmed?email=customer@email.com) is being sent in full to every third-party service. - No Permissions-Policy — Third-party scripts could theoretically access the camera or microphone through her site.
- No X-Content-Type-Options — Uploaded images (she lets customers upload cake reference photos) could be misinterpreted by the browser.
Her fix took 20 minutes:
- Installed the HTTP Headers WordPress plugin.
- Set
X-Frame-Options: SAMEORIGIN,X-Content-Type-Options: nosniff, andReferrer-Policy: strict-origin-when-cross-originimmediately — these break nothing. - Enabled
Strict-Transport-Securitywith a short max-age first (five minutes), confirmed everything loaded over HTTPS, then increased to one year after confirming her SSL certificate auto-renews. - Started with
Content-Security-Policy-Report-Only, listing all seven legitimate third-party script sources. After two days with no violations in the browser console, switched to enforcing mode. - Set
Permissions-Policyto disable camera, microphone, geolocation, and payment since her site doesn't use them. - Ran the FreeSiteAudit scan again to confirm all six headers were active and correctly configured.
Result: all six headers active, no broken functionality, customer data significantly better protected. Total cost: zero.
Common Mistakes to Avoid
Setting CSP too aggressively on the first try. If you block a legitimate script source, your site visibly breaks — forms stop submitting, analytics stop tracking, embedded maps disappear. Always start with Content-Security-Policy-Report-Only and watch the browser console for at least 48 hours before switching to enforcement. Visit every important page: homepage, contact form, checkout, blog posts with embeds.
Enabling HSTS before confirming SSL works everywhere. If a subdomain like mail.yourdomain.com doesn't have HTTPS configured and you set includeSubDomains, that subdomain becomes unreachable. Worse, HSTS is cached in the visitor's browser — you can't just remove the header and fix it instantly. The browser will refuse HTTP connections until the max-age expires. Test all subdomains first, and start with a short max-age.
Forgetting to update CSP when you add new tools. You add a new analytics tool, chat widget, or booking system six months later and forget to update your CSP. The tool silently fails because its scripts are blocked. Add "check security headers" to your quarterly site maintenance routine, and re-run your header scan after adding any new third-party service.
Using unsafe-inline and unsafe-eval in CSP. These directives significantly weaken your CSP. unsafe-inline allows any inline script to execute (which is exactly what XSS attacks inject), and unsafe-eval allows string-to-code conversion. Unfortunately, many WordPress themes and plugins require unsafe-inline for styles. Accept it for style-src if needed, but avoid it for script-src whenever possible. Never use unsafe-eval unless a specific, trusted tool absolutely requires it.
Assuming your platform handles everything. Some managed platforms set some headers. None of them set all six by default. Always verify with an actual scan rather than trusting assumptions or documentation that may be outdated.
Setting headers in only one place. If you have headers configured on your web server and also in a CDN or proxy like Cloudflare, you may end up with duplicate headers. Some browsers handle duplicates gracefully; others pick one and ignore the rest. Use a header scanner to verify that each header appears exactly once with the correct value.
Quick-Reference Checklist
Use this to audit your own headers:
- [ ] Content-Security-Policy — Restricts which sources can load scripts, styles, and media. Start with report-only mode.
- [ ] X-Frame-Options — Set to
SAMEORIGINto block clickjacking. Also setframe-ancestorsin CSP. - [ ] Strict-Transport-Security — Forces HTTPS with a long max-age. Roll out gradually.
- [ ] X-Content-Type-Options — Set to
nosniff. One line, zero risk. - [ ] Referrer-Policy — Set to
strict-origin-when-cross-origin. Protects customer URLs. - [ ] Permissions-Policy — Disable all unused browser features (camera, mic, geolocation, payment).
After setting all six, re-scan your site to verify they're active and correctly configured. Set a calendar reminder to re-check quarterly, and always re-scan after adding new third-party services or changing hosting providers.
How Security Headers Affect SEO and Performance
You might wonder whether security headers have any impact on your search rankings or page speed. Here's the short answer: they don't slow your site down, and they indirectly support your SEO.
Security headers are tiny — a few hundred bytes added to the response. They add no measurable latency. They don't affect Core Web Vitals metrics like Largest Contentful Paint or Cumulative Layout Shift as measured at web.dev.
However, Google has stated that page experience signals matter for ranking, and a secure site is part of page experience. HTTPS is already a confirmed ranking signal. While individual security headers aren't direct ranking factors, they prevent the kinds of attacks that lead to outcomes Google does penalize: malware warnings, phishing flags in Safe Browsing, and defaced content that violates quality guidelines.
More practically, if your site gets compromised through a missing CSP and starts serving injected spam links or redirecting to malicious sites, Google will flag or delist it. Recovery from a manual action or Safe Browsing warning takes weeks. Security headers are preventative — far cheaper than the cure.
Check Your Headers Now
Run your site through a free audit at FreeSiteAudit and you'll see exactly which security headers are present, which are missing, and what values they're set to. The report flags misconfigured headers too — like a CSP that allows unsafe-eval (which defeats much of the purpose) or an HSTS max-age that's too short to be effective.
If your site has problems beyond headers — mixed content warnings, for example, can undermine HTTPS even with HSTS in place — the audit catches those too.

The Bottom Line
Security headers are the difference between "we have SSL" and "we actually protect our visitors." They cost nothing, take under an hour to implement, and close the most common browser-level attack vectors that small business sites face.
Six headers. One afternoon. Meaningful protection for every customer who visits your site.
Run a free security header check now → and see exactly where your site stands.
Sources
- OWASP Secure Headers Project — https://owasp.org/www-project-secure-headers/
- MDN Web Docs: HTTP Headers — https://developer.mozilla.org/en-US/docs/Web/HTTP/Headers
- web.dev: Web Vitals — https://web.dev/articles/vitals
- Google Search Central: Creating Helpful Content — https://developers.google.com/search/docs/fundamentals/creating-helpful-content
Check your website for free
Get an instant score and your top 3 critical issues in under 60 seconds.
Get Your Free Audit →